User Interface
Link to section 'Chat Interface' of 'User Interface' Chat Interface
Link to section 'Model Selection' of 'User Interface' Model Selection
The chat interface allows you to select from a list of available models to interface with. This list includes both base models available to all users as well as any custom models you have created (covered below).
You may also select multiple models to compare the output for any prompt. In this case, your prompt will be sent to all selected models and the results displayed side-by-side.
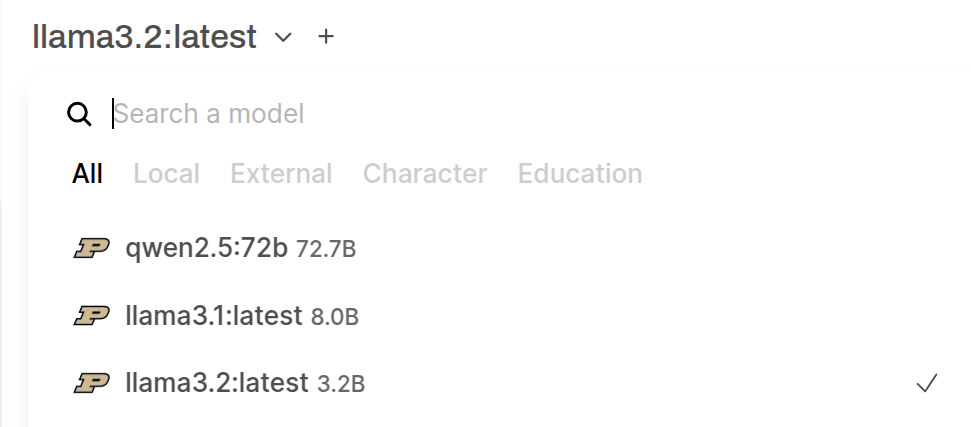
If there are additional open-source models you would like to use that are not available in the drop-down, please send in a ticket request. We are able to provide access to most open-source models.
Link to section 'Sending a Message' of 'User Interface' Sending a Message
Sending a prompt is as simple as adding text into the message bar. By clicking the microphone or headset buttons you can also use a speech-to-text service or have a “call” with the model where you can speak it the model will speak back.

You can also add a document to give the model specific context to respond to the prompt with. If you would like this context to be persisted, upload it as Knowledge or add it to a custom model as discussed below. To query an existing document that was previously uploaded into the document interface to the context of a chat, use ‘#’ and then the name of the Knowledge base before entering your prompt.
When you get a model response, you can take various action including editing, copying, or reading the response out loud, and view statistics about the generation with the options available at the bottom of the response.

Link to section 'Other Controls' of 'User Interface' Other Controls
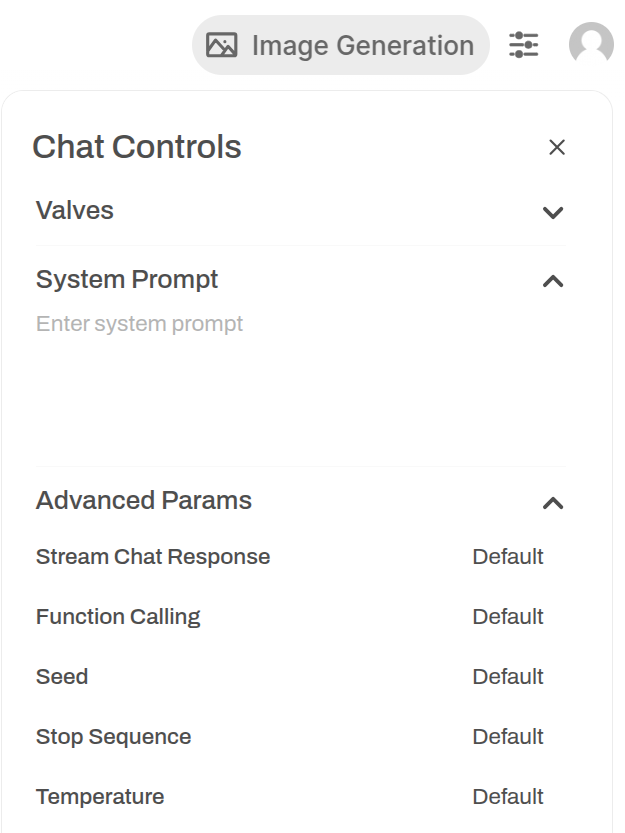
From the top right of the screen, you can access various controls which enable you to tweak the parameters and system prompt for the chat. To persist this information, use a custom model. From these options you are also able to download chats and change other settings related to the UI.
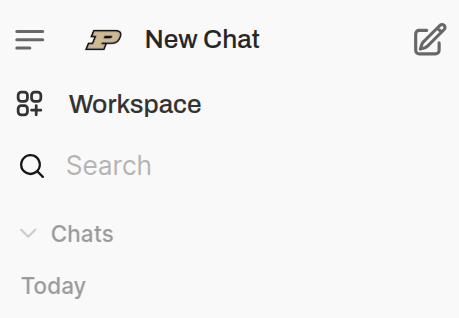
On the left of the screen you can create new chats, access your chat history, and access the Workspace where you can upload documents and create custom models.
Link to section 'Workspace' of 'User Interface' Workspace
From the workspace you can create Knowledge Bases, upload documents and create models with a RAG functionality.

Link to section 'Knowledge' of 'User Interface' Knowledge
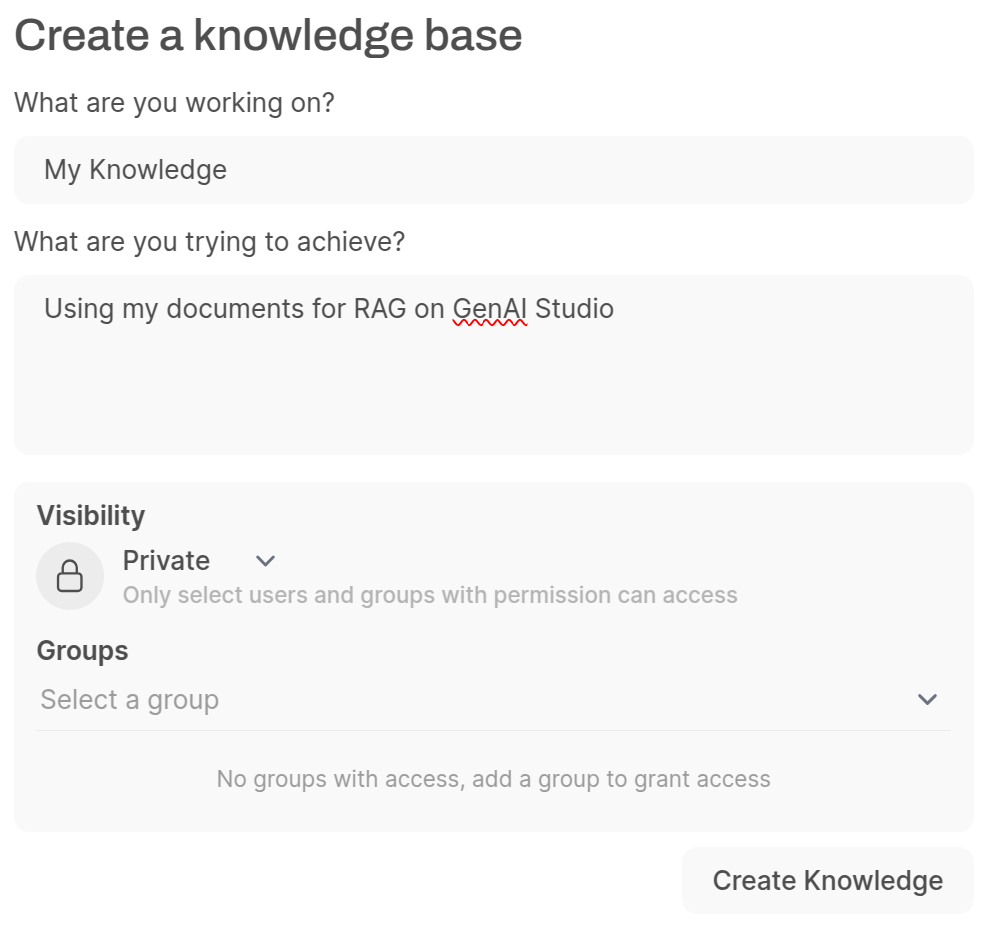
In the Knowledge tab, use the ‘+’ button to upload documents to a knowledge base. Set the Visibility to private if you don't want other users of GenAI Studio to see your documents.
If you would like to share your Knowledge with your research lab, department or other GenAI Studio users, groups can be used. To create a group or add members to a group please contact rcac-help@purdue.edu.
Select documents using the upload functionality to add them to a Knowledge base. Different Knowledge bases can be used to create different collections of documents, for example to create custom RAGs focusing on different tasks. Please do not upload documents with sensitive information or that are subject to regulations.

Link to section 'Models' of 'User Interface' Models
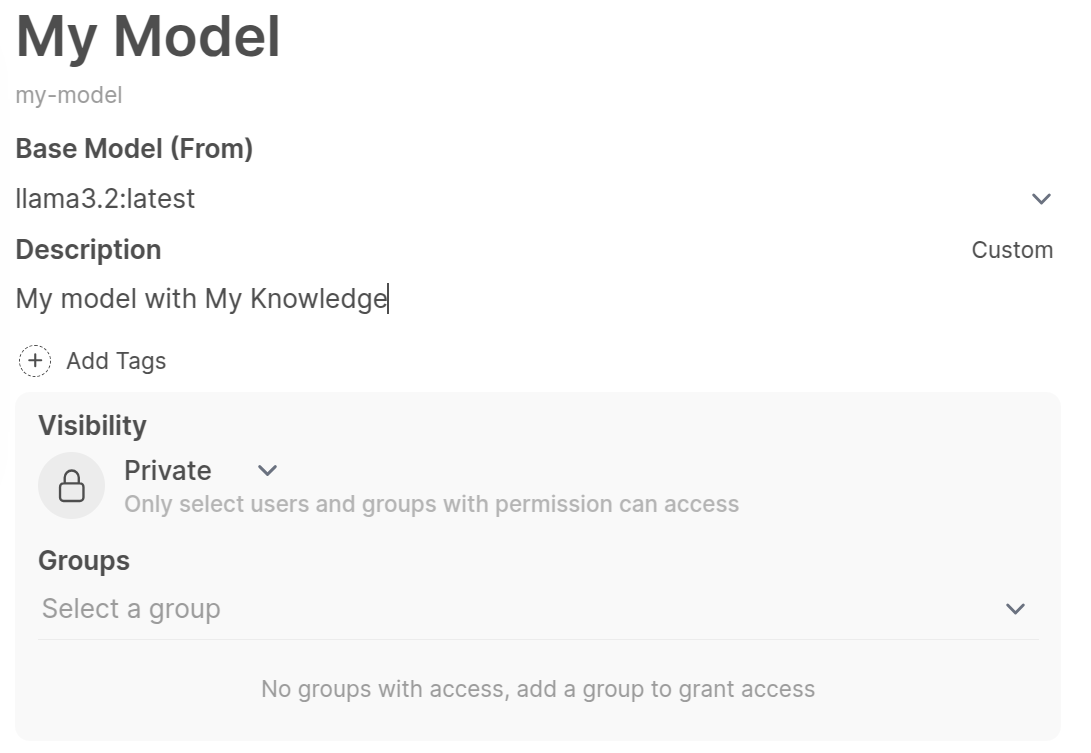
To create a custom model, navigate to the Models tab in the Workspace and click the + button on the right side of the window.
From here, you can customize a model by specifying the base model, system prompt, and any Knowledge, among other customizations. Knowledge and documents must be uploaded in the document tab before they will be accessible here. Once the model has been created it will show up in the model list in the chat interface.